Being a parent of toddlers can be pretty fun. These tiny humans ask for things you have never thought of.
Toddlers are proof that you can be creative and fun, no matter your age. Your energy will glow, and your actions can be pretty satisfactory for the kid. You’re mistaken if you thought that your toddler would play with trucks or dolls all the time.
From my personal experience, I can tell you that the kids will be happier with a bow and arrows. They can be the characters from superhero cartoons and ask for unusual “toys,” so do not be surprised if your kids ask you for bow and arrows.
Show your creativity and keep reading this article to learn how to make a bow and arrows for kids using simple and cheap materials.
DIY Projects: How to Make a Bow and Arrows for Kids
Hanger bow set
Hangers are easy to find since every household has dozens of hangers for storing clothes. We chose this project first as the easiest one, made out of relatively simple materials.
You will need:
- A sturdy plastic hanger
- Duct tape
- Longer rubber band
- Pencils
- Paper or cardboard
- Glue and a scalpel
How to make:
Step 1
Test the hanger if it is solid and elastic enough. You can stretch it with your hands in various directions and determine it will not break easily.
Use the scalpel or other sharp object (knife, scissors) to cut off the hanger top and tiny plastic parts inside the hanger. You will need only the hanger body that looks like a bow, without the curved parts.
Step 2
Take your duct tape and wrap the hanger smoothly. Ensure that all the surfaces are covered, and the tape is thick enough that no plastic parts protrude. You can choose colored duct tape to give the bow some character.
Step 3
The string of the bow should be made of a thick rubber band. You can measure the hanger and determine the length of the rubber band you will need for the string. Tie the bowstring to the end of the arc of the bow. If you think that the rubber band is not steady, you can cut two V notches so the rubber band will enter the cuts securely.
Step 4
The bow is finished, and you can continue to the arrows. Take the pencils and wrap them in duct tape. You can use the same tape for the bow or choose another color to make it more fun.
Step 5
Take the paper or the cardboard and draw triangles. These will be the arrowheads for the arrows, and you should make two triangles for each arrow. Cut the triangles and glue them to the arrows.
Ensure that the pencil is precisely between the arrowhead and adjust it if it is not. Your set is done, and your kid can enjoy using it in nature. This set is not dangerous, and your kid can not seriously hurt himself or others.
PVC pipe set
This set is made from cheap and easy-to-find materials that you might already have at home. The set is suitable for outdoor areas. Kids should not use it at home because they might break some objects.
You will need:
- PVC piping (dimensions: 90-96 cm long and 1.5 cm in diameter)
- Strong rubber string
- Bamboo canes (dimensions: 50-55 cm long)
- Felt
- Small elastic bands
- Duct tape
- Tools such as a drill and scissors or scalpel
How to make:
Step 1
Get the PVC pipe and drill holes on both edges. You should tie the spring rubber band there and ensure it is straight and comes through the other side.
Knot it tightly so it can not get out and hurt someone on strong pulls. Tie the band, so the bow gets into a bow shape. You can use other strings, like thinner rope, instead of a thick rubber band. If your bow is 90 to 95 cm long, the sting should be approximately 70-75 cm long.
The bow is ready, and you can add some colored duct tape to make it look fun.
Step 2
Since the bow is ready, you can continue making the arrows. Get a paper, newspaper, or a piece of cloth and make a tiny ball for the arrow’s top. Glue it with duct tape to keep it in place. This will ensure that the arrows are not sharp or dangerous to break something or hurt somebody.
Step 3
Cut the felt in circles or other shapes. The size should be as big as the top of the arrow where you put the paper/cloth ball. Cover the top and ensure it with the small rubber bands to look like a coat on the arrow’s top.

Step 4
On the opposite end of the bamboo stick, you should make a small notch right in the center so that it can be easily pulled back on the bow. Use different types of duct tape and make the arrows look fun.
Step 5
Your set is done, and your kids can enjoy playing with them outside.
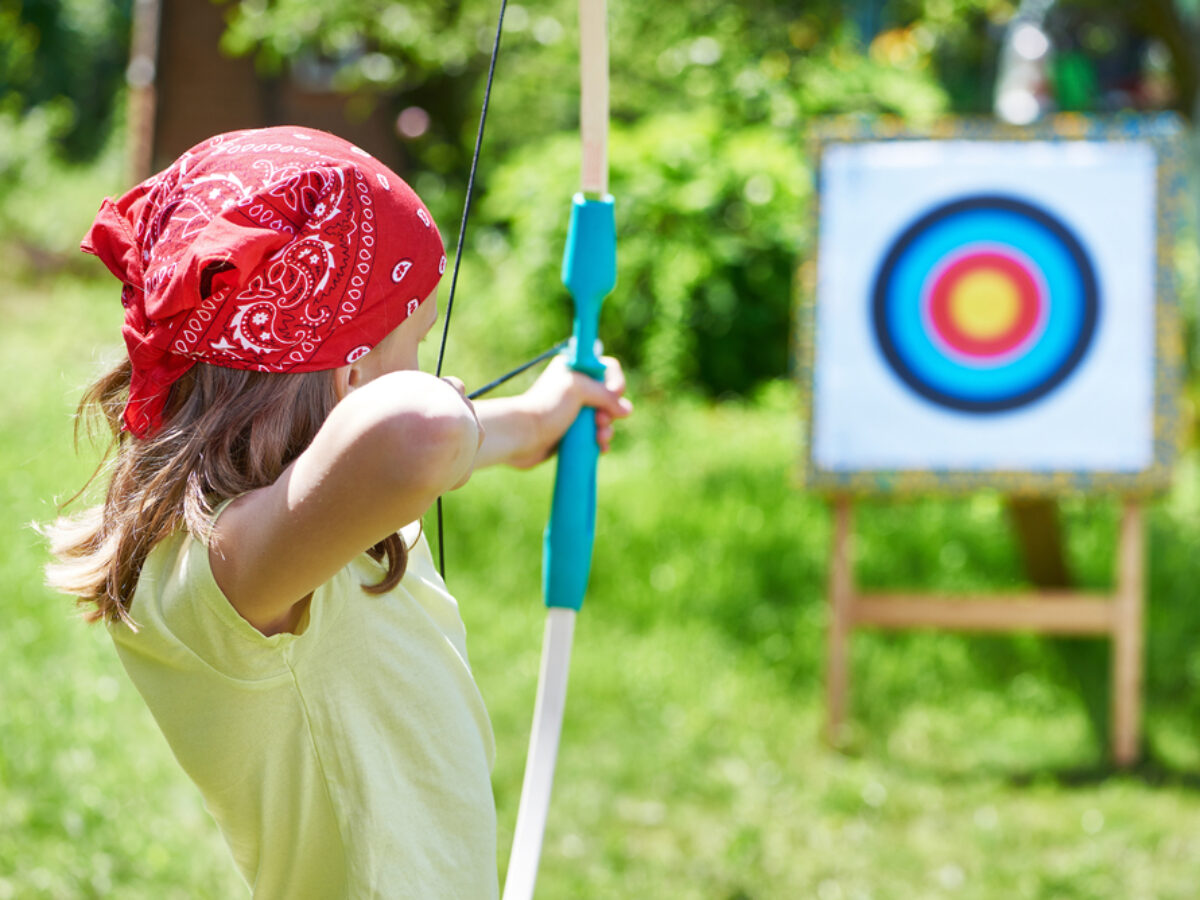
You can additionally make a target board by taking a large piece of cardboard cut into circles. You can paint concentric rings to create the target board. Place the boards outside on a three or safe surface so the kids can start playing with the set.
Final words
We hope you liked these two “How to make a bow and arrows for kids” DIY projects.
The chosen materials are easy to find and possibly present in every household. The making process will take you 10 to 15 minutes, and it does not require professional tools.
The arrows should not be sharp and dangerous for the kids.
The arrows and bows should be used outside and with precaution. Kids should point to safe targets which exclude animals or other people.
Ensure that the bow and arrows will not be used at home and hide them in a safe place, unreachable to the kids.


