
Knowing how to put on a crib bumper will help you choose the right bumper depending on the crib type you already have. It is best to choose a breathable crib bumper because it is recommended by many associations and the American Academy of Pediatrics.
Having a bumper on the crib will prevent your baby from sticking his arms, legs, and head between the railings. Choosing a breathable bumper is excellent because it ensures airflow in the crib and has a low chance of suffocation.
But you may face difficulties choosing the right length and type of crib bumper if you have a unique crib different from the standard one. Because of that, I will try to help you make the right choice. Let’s begin!

How to Put on a Crib Bumper
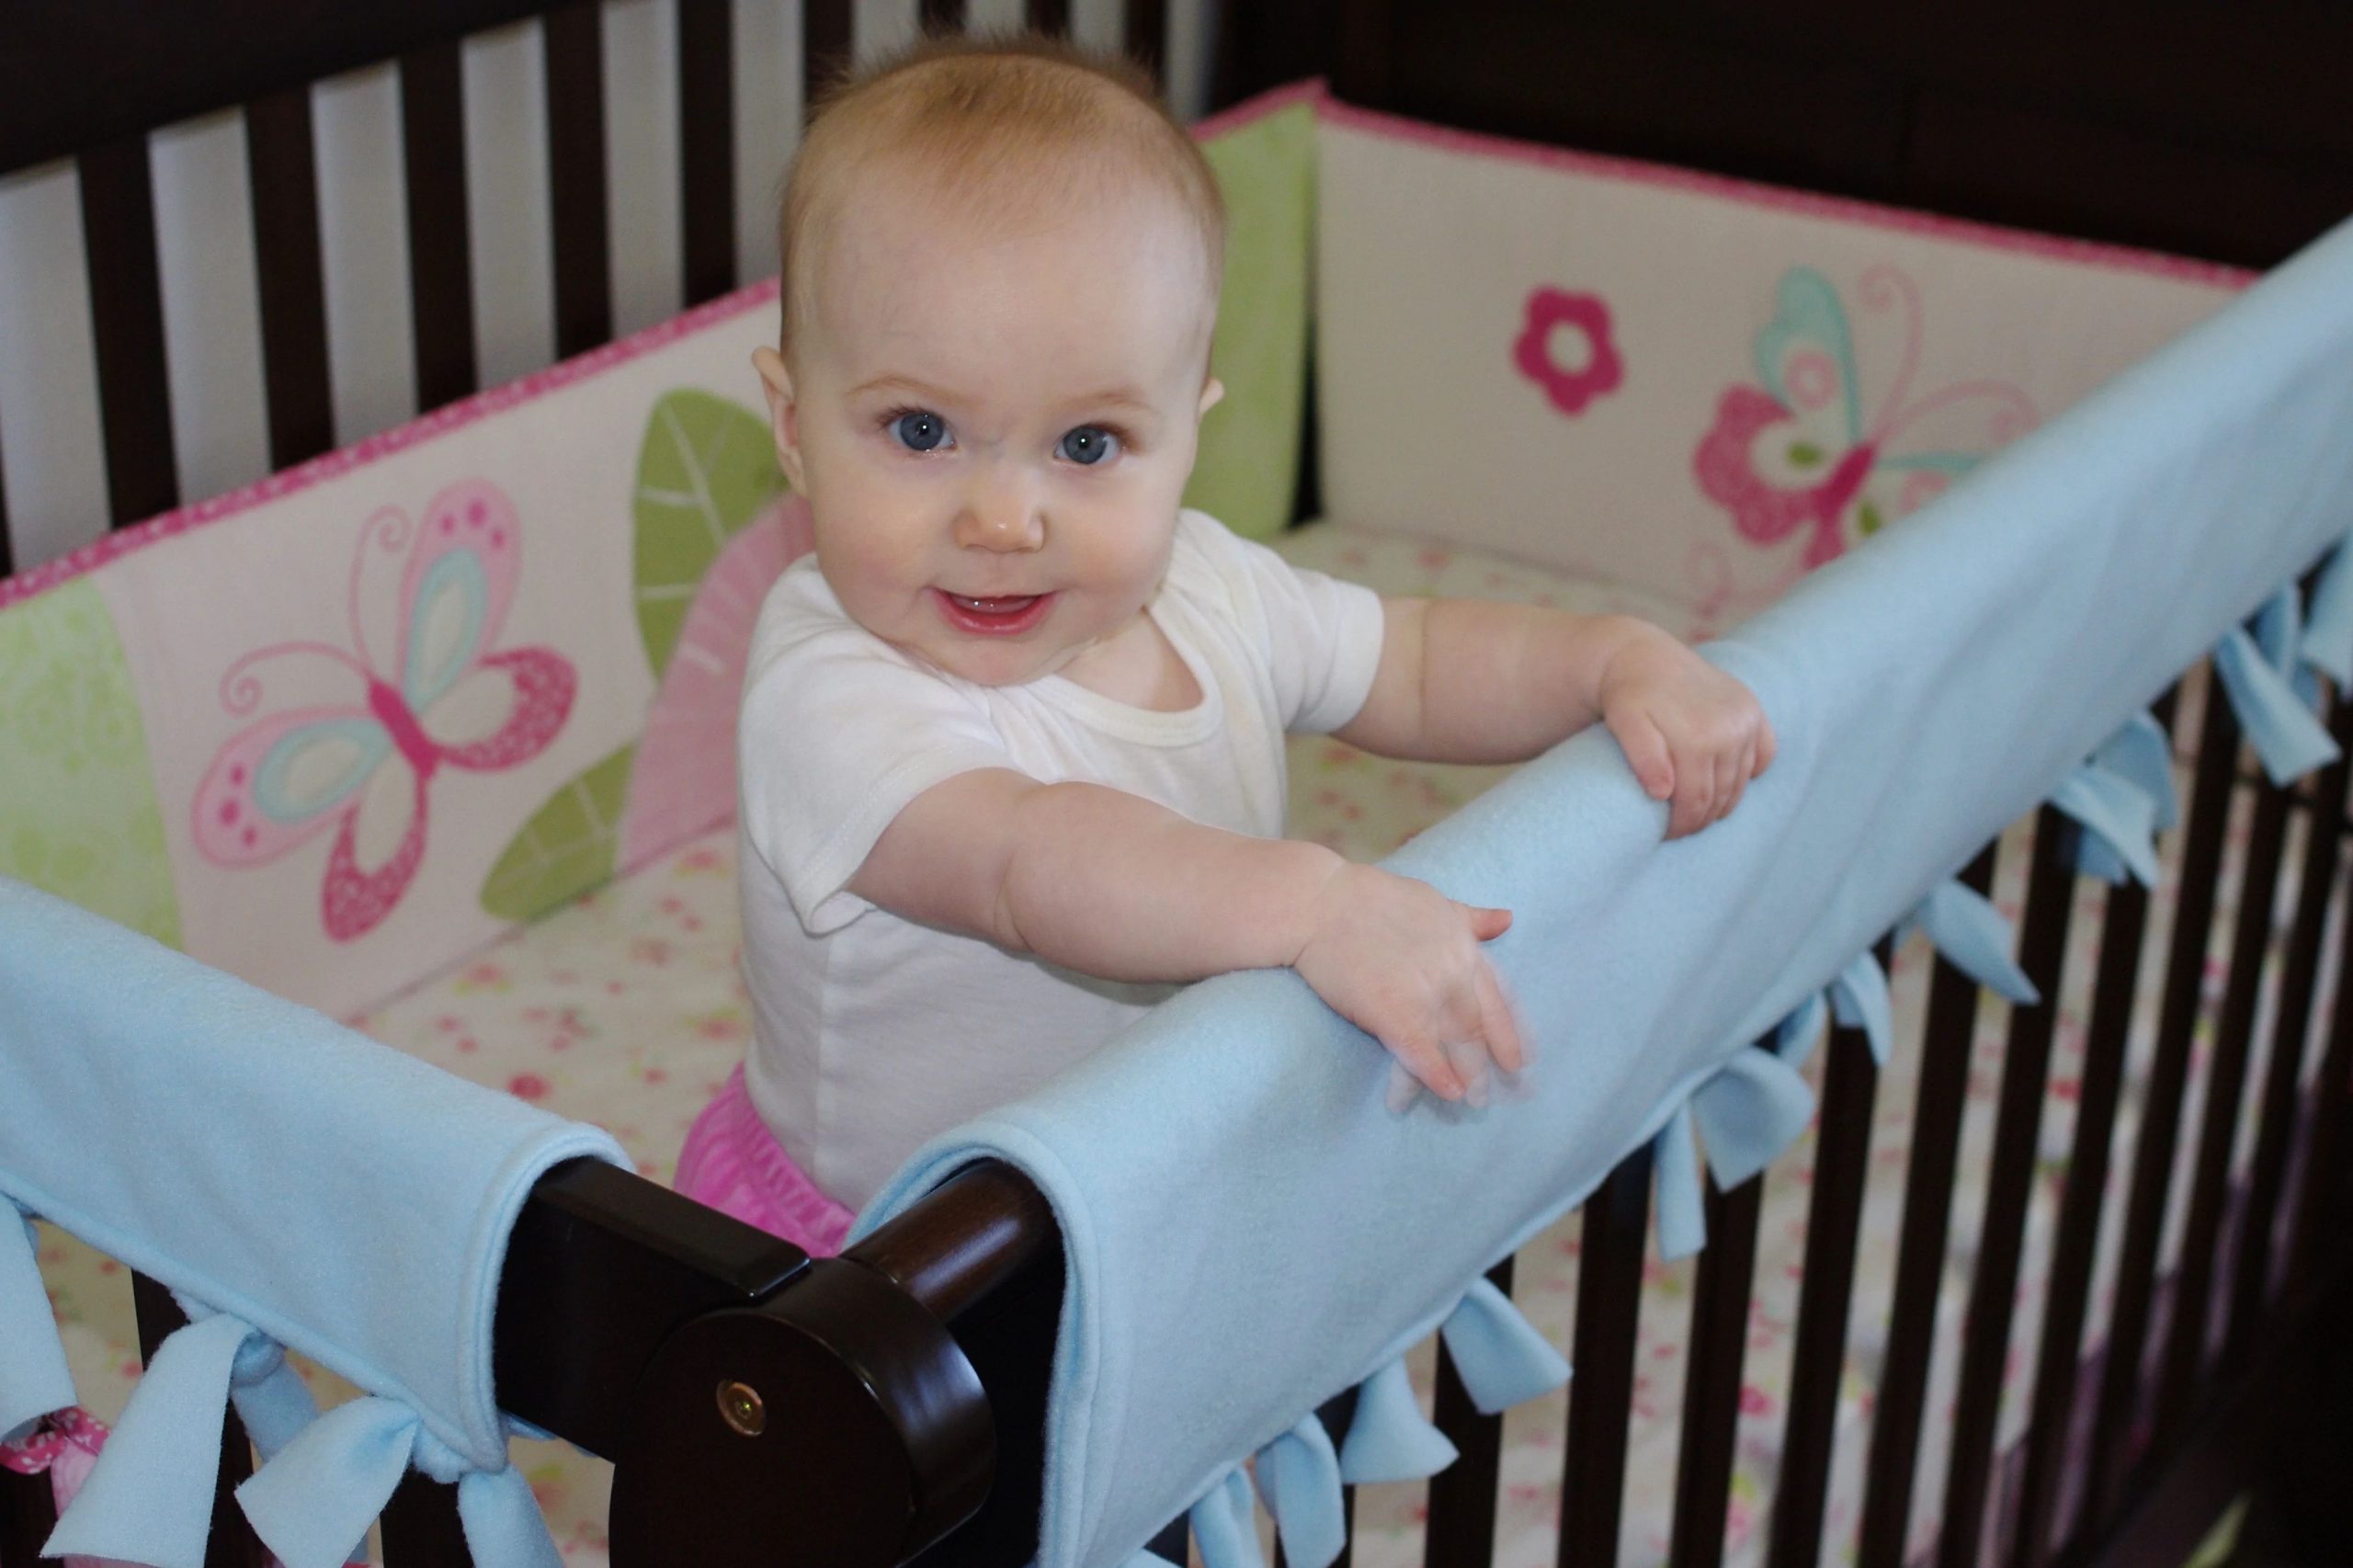
The simplest way to put on a crib bumper is to place the short side of the bumper against the crib’s rails, then pull the bumper’s end through the crib’s corner and secure it.
Then, place the long side of the bumper, and pull the bumper’s end through the slat. Neatly tuck the bumper’s bottom between the mattress and the crib.
It is not hard to place the crib bumper since many crib bumpers come with an installation manual. If you can not understand the manual’s blank photos, I will explain how to place and secure the bumper in different cases.
You must choose the right crib bumper if you have bought a different one than the standard one. Also, avoid fabric bumpers because they are not recommended by the AAP and might be dangerous for your baby.
I understand that many fabric bumpers look pretty from the outside, but the bumper’s function is safety, not decorative.
Different Types of Crib and Matching Crib Bumpers
Standard four-sided crib
The standard four-sided crib has two long and two shorter sides. All its sides are railed, so here is how to put on a crib bumper on this kind of crib.
Step 1
Place the long side of the bumper inside, along the back of the crib. The ties should face upwards and outside of the crib.
On the corners, weave the ends of the long side of the bumper behind the crib slats. The line should pass in front of the corner posts. Pull the ends of the long side along the slats inside the crib.
Step 2
Take one end of the bumper’s long side and wrap it around the first crib slat (next to the front corner post). Choose a different slat depending on the crib slats’ width if the bumper seems too loose.
Secure the bumper around the slat. Repeat the process on the other side and tuck the bumper’s edge below the crib’s mattress.
Read more: How to Fold Baby Trend Stroller

Step 3
Once you are done with the inside installation, continue to the outside. Try to center the bumper’s ties on the outside. The position of the ties may vary because all cribs have differently placed slats.
Tightly tie the ties on the outside of the slats and ensure the bumper stands up. It should not sag down if you pull it.
Step 4
Install the short sides by placing them inside the crib along the front side. The bumper’s ties should be outside the crib.
Then, weave the ends of the short side behind the slats so that the short side passes in the front side of the crib’s corner posts. Secure and ensure it is tightly tied and does not sag down.
Solid back crib
The bumper’s long side should be placed inside the slats in the solid back cribs. Ensure it is centered along the front side of the crib. The bumper’s ties should face outside the crib. Weave the short sides through the slats.
In this type of crib, the solid back side will be uncovered. If you have this type of crib, you should buy a bumper with two short and one long side.
Also read: How to Wrap a Baby Sling
Solid end crib
Having this type of crib means you should buy only two long-side crib bumpers. The installation process is simple because you do not have to weave the bumpers around the crib posts.
The crib bumpers should cover the long sides of the crib or its front and back. The short sides will be uncovered.
Place the bumper inside so that the ties face outside the crib. Secure the ends of the bumpers by wrapping them around the slats.
Mini and portable cribs
Mini cribs are a smaller version of the standard cribs. They have two long and two short sides, meaning you only have to search for a mini standard crib bumper. The bumper will cover all four sides of the mini crib if it is not a specific model with solid sides.
The bumper’s corners, where the long and short sides meet, should get on the back of each last slat and go in front of the crib’s posts.
The process is the same as with the standard crib. You can follow the instructions from above and place the mini crib bumper correctly. Secure the ends and check if they are tightly tied.
Alternatives
If you haven’t bought a crib yet, you can review the crib bumper alternatives or see if you can choose a breathable crib whose slat sides are replaced with breathable mesh or fabric. This option lets you buy only the crib without spending extra money on bumpers.
Conclusion
Well, we have come to the very end. I am happy that so many options and guides are available today. Being a newbie in parenting might be challenging, and every kind of help is welcome.
I hope this installation guide has helped you learn how to put on a crib bumper and what are the available money-saving alternatives.