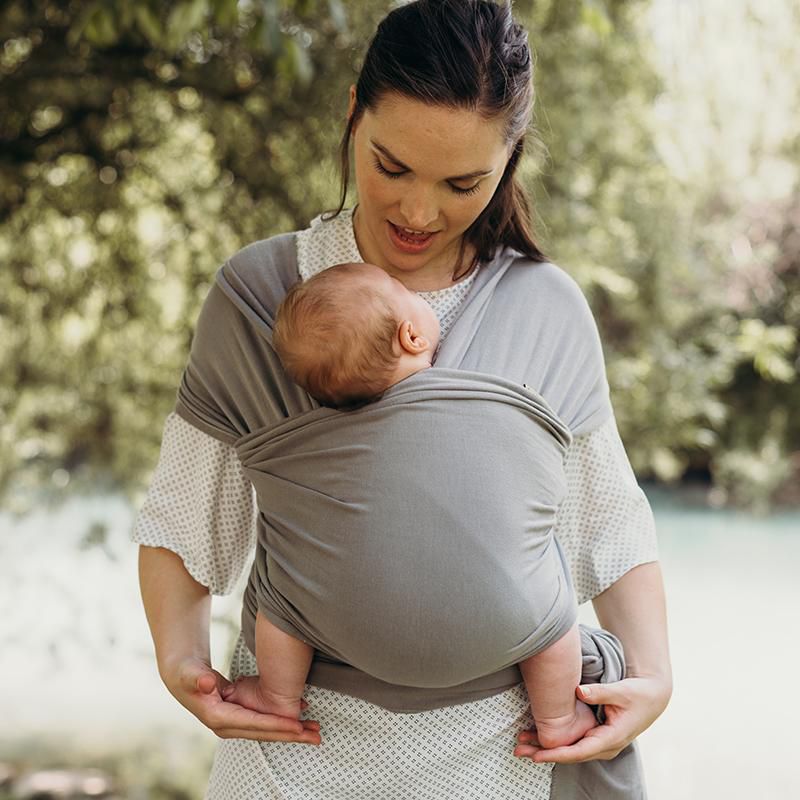
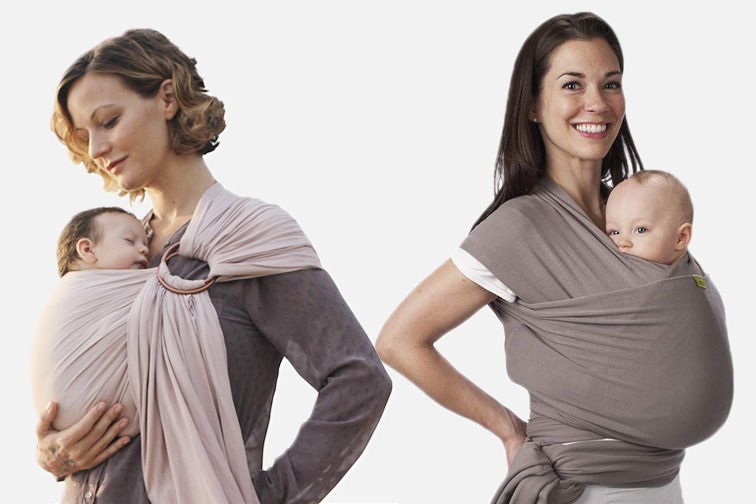
You’re probably here because you want to learn a new way to hold your baby while your hands stay free. It’s not surprising that so many parents choose baby wraps to hold their children.
The fabric allows them to continue their work without getting their hands tired. Besides, these baby carriers may enable you to bond with your infant even more.
Still, tying up baby wraps can be challenging at first, and it takes several tries to make a safe tie. We decided to create this article for all new parents who find baby wraps tricky. Here, we’ll talk about the benefits of using baby carriers, how to wrap a baby sling, and valuable tips that may help you become a wrapping pro.
Pros & Cons of Baby Slings
Disadvantages
We have to say – baby slings may have so many benefits that we don’t even know why we have put cons in the title. However, since we feel obligated to share the disadvantages of these baby carriers, we’ll start with them right away, and we’ll focus on the benefits later.
One of the disadvantages of using this method of holding your child is that you may need to try multiple times to do the wrapping technique properly. Unlike manufactured baby holders, baby slings are one-piece materials. Therefore, you’ll have to learn the technique before wrapping your baby in the sling.
The other disadvantage is that wearing your newborn in a baby sling is weight-restricted. This means that you won’t be able to carry the baby when it gets older and weighs more. Plus, babies are more and more curious about their surroundings as they grow. Therefore, your child will probably move more often, making the babywearing (this term is used to describe the practice of carrying a baby in a sling) difficult.
Advantages
The fact that both hands will be free while holding your baby is the best advantage of this practice. Thus, you’ll have more control over your child’s movement. Moreover, you can still do your own business around the house, hold a book and read, or prepare dinner while your baby safely stays near you.
The baby slings usually are one-piece materials made from stretchy fabric. Therefore, they can fit every family member regardless of their height. Typically, the wraps are lightweight, and the material is very breathable.
The baby wraps might have more than just practical benefits. They may help you and your partner bond with your baby better. Thanks to this soft and lightweight cloth, you and your child may develop a closer relationship. Your newborn will feel safer listening to your heartbeat.
In fact, many studies show that close contact helps babies sleep longer and more peacefully. Other studies showed improved temperature regulation, oxygen saturation, and overall growth in prematurely born infants carried in baby slings by their parents.
Besides promoting a more significant bond, holding your baby in a baby sling may positively impact your breastmilk production. According to some research, it may also calm you and reduce your stress and cortisol levels.
Also read: How to Grocery Shop With a Baby
Step-By-Step Instructions
Now that we have discussed the pros and cons of wearing your baby, it’s time to see the procedure. We’ll go step by step through the technique hoping that we’ll help you learn how to wrap a baby sling.
Step 1
Find the center of the cloth. Usually, manufacturers put a label in the middle or mark the spot. You should place the fabric in the center of your stomach and wrap your torso with it, putting its ends behind your back.
Step 2
Now that the two ends of the material are behind your back, you should cross them. This will make an X on your back.
Step 3
You’re still holding both ends of the material. After making an X on your back, you should pull each end of the cloth over your shoulders. Pay attention and ensure that your shoulders are evenly covered with the material during this step.
Step 4
Pull down the cloth’s ends over your chest while crossing them. However, you should put them behind the horizontal line on your torso that you’ve made during the first step. With this step, you’ll get an X on your chest, where you’ll put your baby later.

Step 5
So far, you should have made the initial form of the sling. Now, you should make sure that the wrap will hold your baby. To ensure the wrap, take the ends of the cloth that are now placed in front of you and wrap them around your back again.
If the cloth is long enough, you should tie it on your front. If your wrap isn’t so long, you can tie it on your back. Either way, you should double-tie it in a double knot.
Step 6
It’s time to take your baby. Find the first wrap you’ve made, which is the closest to your torso. You should start wrapping your baby from her legs.
First, gently put one of the baby’s legs through the cloth and then the other. After that, you should pull up the wrap to cover the baby from her thighs to her neck. If your newborn doesn’t hold their neck yet, you should cover their head with the wrap. However, make sure that the baby has enough space to breathe.
Step 7
By this time, you should have wrapped a baby sling successfully. In the final step, you should check whether you’re following the T.I.C.K.S. safety measures, which are crucial if you want to learn how to wrap a baby sling.
- Tight – check if the sling is tight enough to keep your baby
- In View At All Times – make sure you can see your baby’s face by glancing down
- Close Enough To Kiss – your baby should be close enough for you to kiss their head by simply lowering your head.
- Keep Chin Off The Chest – make sure your baby’s chin isn’t forced to their chest so that she can breathe freely.
- Supported Back – ensure that your baby’s back is supported in its natural position and that the baby is comfortable.


