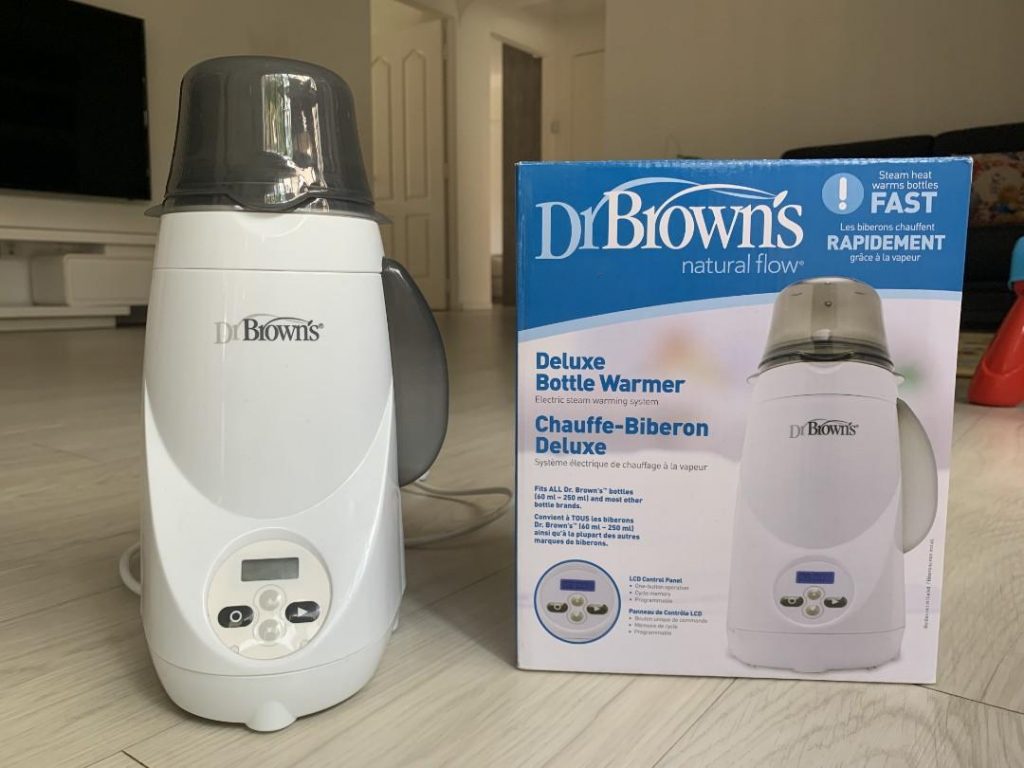
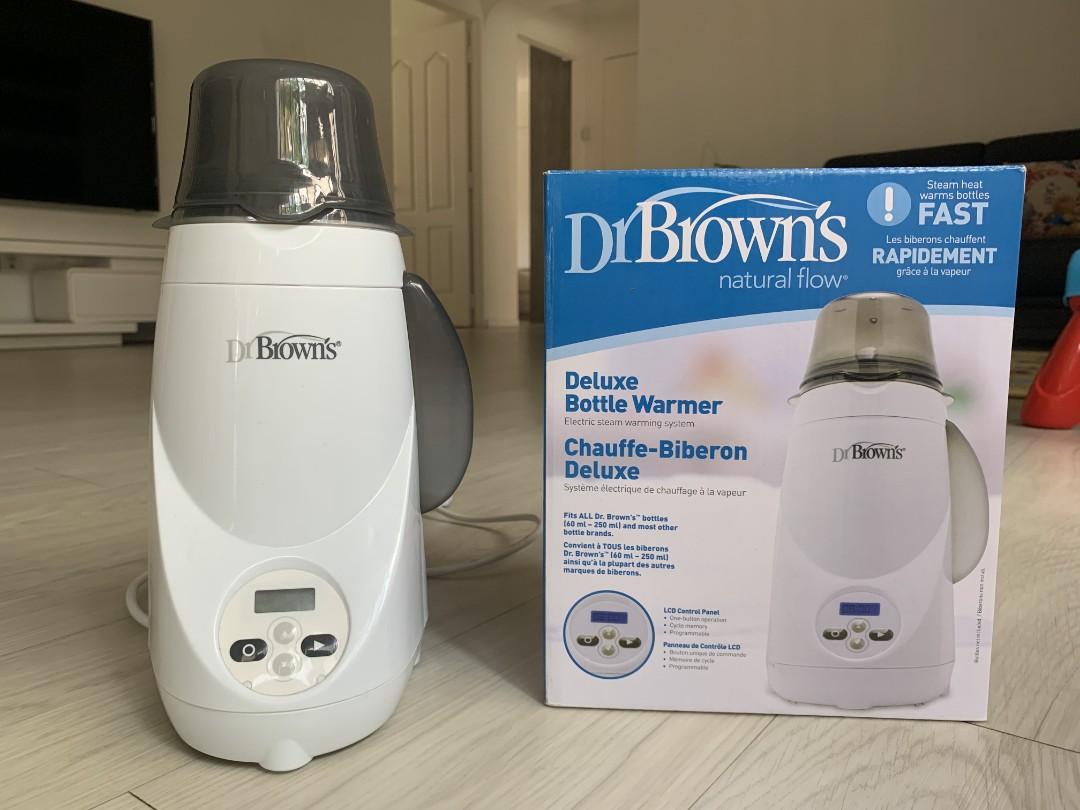
When your baby becomes hungry, it’s good to have a device that will quickly warm up the milk, so probably that’s why you have the Dr Brown bottle warmer. This high-quality device will help warm the milk for your baby very rapidly. Wondering how to use Dr Brown bottle warmer?
Dr Brown bottle warmer is very simply designed, and it comes with an LCD control panel, which you can program and use as you wish. This device weighs 2 pounds, and its size is 5.5 x 7.9 x 9.6 inches, so it doesn’t take up much space, which is great.
Additionally, the way to use it is pretty simple, so in continuation, I will explain exactly how to use Dr Brown bottle warmer and everything you need to know about it. So, let’s start.

How to Use Dr Brown Bottle Warmer
Using this bottle warmer is the easiest you will find, so you will love it. This is the simplest device I’ve ever used, which is why I love it so much. With a press of a button, the bottle warmer will instantly and equally warm up the liquid of any bottle you put inside of it.
I must mention that you can fit almost every bottle in it, and of course, you can fit all Dr. Brown’s bottles, which is maybe the best part about this device.
Dr Brown’s Bottle Warmer works and warms bottles by using an electric stream, so let’s see how to use this device step by step.
Step 1
The first thing you must always do before starting is to check if there’s water in the reservoir. Even though you can warm up a couple of baby bottles before you need to refill the water reservoir, always take a look at it before using it.
It’s best to refill the water reservoir every six to 12 bottle warming cycles, depending on the size of the bottle you’re warming up.
Step 2
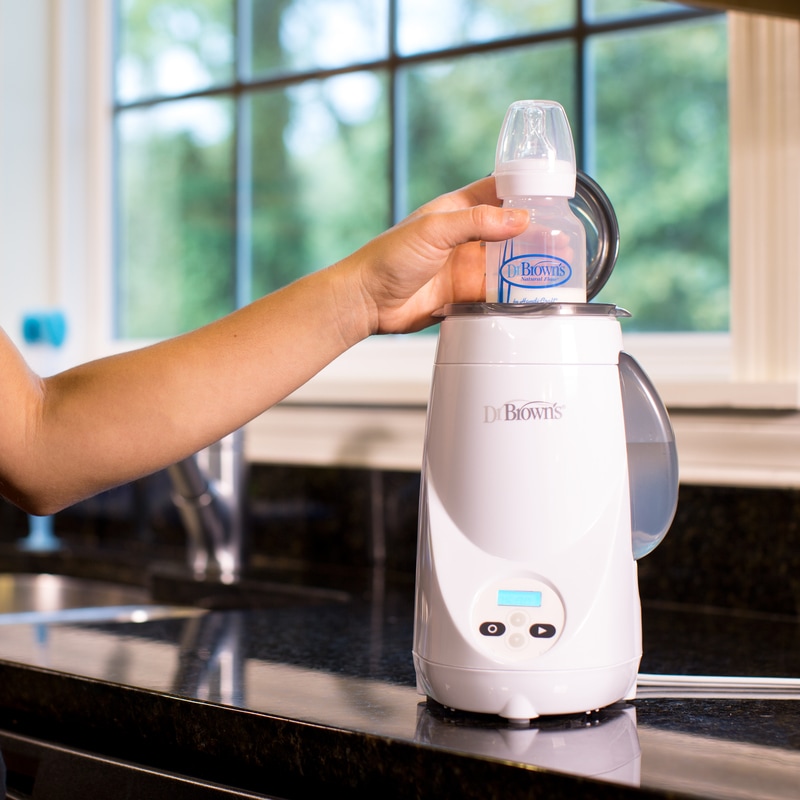
After you ensure that the water reservoir has water and everything seems good, you can start using this device. Simply start by filling the bottle with milk and tightly securing the cap. Then, put the bottle into the device’s basket, and place it into the heating chamber.
Step 3
The last thing you need to do is set the time required for your liquid to warm up and press the button for the device to start working. The device will remember the time, so you don’t have to set anything the next time you use it. The time will automatically set itself.
Step 4
Dr Brown’s Bottle Warmer also has visual and audio alerts, so you will always be notified when your bottle is warmed up. So, when the liquid in the bottle reaches the desired temperature, the device will tell you that using an alarm.
The LCD will also start flashing, so there’s no way to miss or forget it. In the end, an even better thing is that after eight minutes after the bottle has been warmed, the device will turn off.
Read more: What to Feed a 1 Year Old for Lunch?
Program Cycle Time
The temperature you need to set depends on the bottle size and what you’re trying to warm up. So, easily adjust the heating time depending on the bottle size you want to warm up. Also, this device has a cycle memory, so thanks to it, you don’t have to set the preferred temperature every time you use the bottle warmer.
The more you use this device, the faster you learn the best temperature for everything. The best part is that the device’s memory, which means that the “last time used” is memorized. So, all you need to do is to press the start button, and that’s it; the settings used the last time will apply.
Remember that if you disconnect the device from the power outlet, the “last time used” will be deleted. Also, if you forget to turn off this device, don’t worry. The automatic shut-off will activate after eight minutes of inactivity, turning the device off.
Cleaning Routine
I’m happy to share that cleaning the Dr Brown Bottle Warmer is easy. No one wants to spend much time washing things, especially new moms that don’t have time for anything. So, this device is very easy to keep clean.
- First, unplug the device from the power outlet, and wait until it cools down.
- Remove and empty the water reservoir.
- Fill the reservoir with mild, soapy water, let it sit for 5 minutes, and pour out the soapy water.
- Rinse it well and let it dry.
Your device will be clean and ready for use but don’t forget to do this every week to prevent mold from forming.

Things to Consider
The following several things are good to remember if you want to know how to use Dr Brown bottle warmer properly and safely.
- Unplug the device from the power outlet before inserting the water reservoir
- Always check the temperature of the liquid in the bottle before giving it to your baby, just to be sure that it’s not too hot or not hot enough
- When restarting a warm appliance, remember that one minute will be reduced from the “last time used” to avoid overheating
- You must wash this device at least once weekly
- Don’t ever open the chamber’s lid when the heating cycle starts
Read More: How Much Rice Cereal In Bottle For 1 Month Old
Conclusion
So, as you can see, this bottle warmer is easy to use and clean, fits different bottle sizes, has an LCD, evenly warms up the liquid, has a cycle memory, and has an automatic shut-off, so it’s one of the best bottle warmers you can get.
So, as you’ve learned how to use Dr Brown Bottle Warmer, there’s no need to waste your time and money ordering and trying other bottle warmers. Get it, use it as explained here, and enjoy it with your baby.


